How to use Google Account As Identity Provider With Azure Active Directory B2C?
Hello Readers,
Welcome to the 4th blog of "Azure active directory b2c series". In the first 3 parts we have seen how to create Azure AD B2C Tenant step by step , how to use it with .net core application and what are the different "Identity Providers In Azure Active Directory B2C". If you haven't checked yet then you can check Part-1 - Part-2-Part-3. So, Today we will look into "Google Identity Providers" that azure active directory b2c provides.
You might have question why we need the identity provider?
So, Azure Active Directory B2C (Azure AD B2C) is a powerful cloud identity management service that enables seamless user sign-up, sign-in, and profile management in applications. By integrating Google accounts as a sign-in option, you can enhance the user experience and streamline the authentication process. In this blog post, we will look into the steps to set up sign-up and sign-in with a Google account using Azure AD B2C, ensuring a smooth integration of identity providers.
To understand this identity provider integration I will cover it in 3 different parts.
- Creating a Google API Project and Configuring Credentials
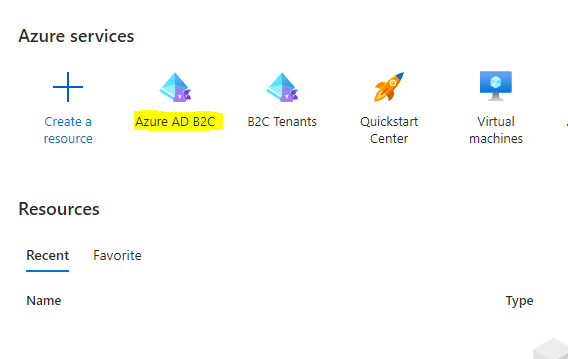
- Configuring Azure Active Directory B2C
- Testing the Sign-Up and Sign-In Flow
In this blog we will look into how to configure google account.
To begin, let's create a Google API project and configure the necessary credentials:
Visit the Google Cloud Console login into your google account and create a new project.
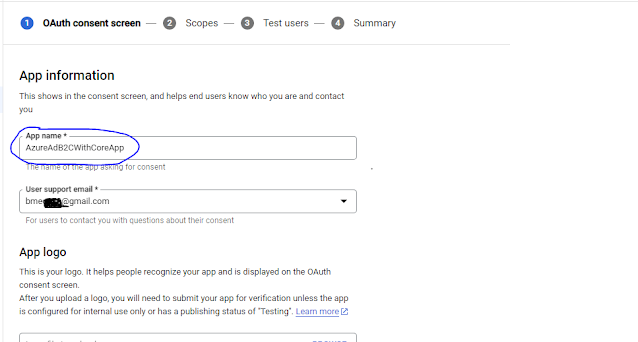
Now select APIs&Services from sidebar and select OAuth consent screen same as below images.
Next you will see below screen where we need to select "Edit App" option from top.
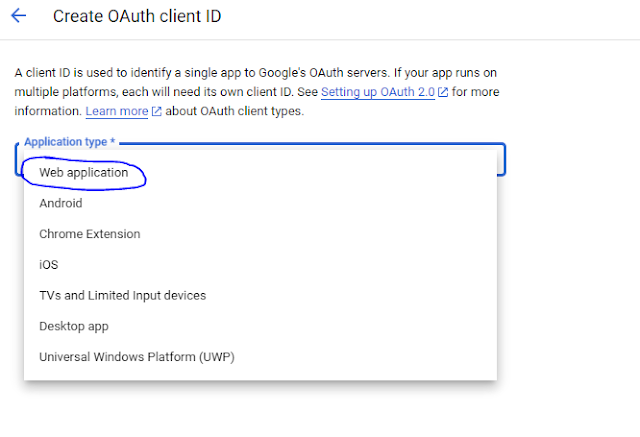
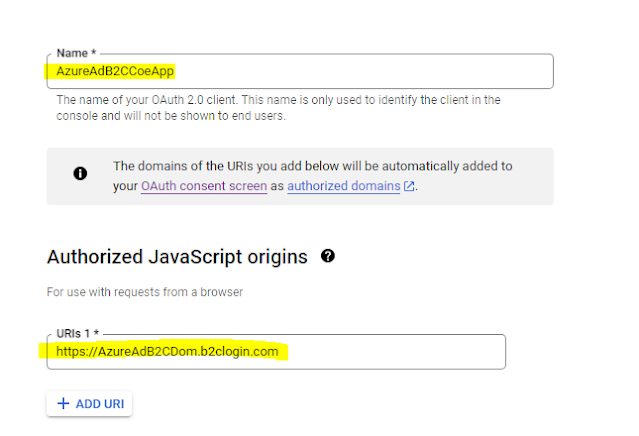
Next select "Web Application" from applicationType dropdown. Provide name in "Name" field and Specify the authorized JavaScript origins and redirect URIs, including the Azure AD B2C URLs
Copy ClientId and Client Secret as we need it later in azure portal.
So, Here we have completed part-1where we have seen how to configure google project so we can use google as identity provider in azure portal active directory b2c.
In Next blog we will see how to configure google account in azure portal as identity provider.
So, Stay tuned guys see you in next blog. Also, provide your valuable feedback if you find this blog useful or need anything to be changed.
See you in next blog 😀.


Comments
Post a Comment